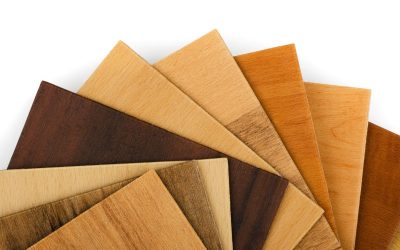
Wooden floors became popular during the 20th century, and are now used in a variety of residential as well as commercial settings. They are mainly popular because of the way that they look and the way that they complement the interior décor of the room. Wood floor installation isn’t really difficult, and you don’t need to make a lot of effort either. However, in order to make the installation look neat and clean, you might have to hire a professional. Here is a basic guide for installing wooden floors in your house.
Taking the Measurements
Wooden flooring is usually sold in squares. Before you place an order, you must take accurate measurements of the rooms in which the flooring is to be installed. If you are going to install the wooden floors by yourself, you will also have to remove the existing floors. If you haven’t done this before, it might be a wise idea to not take your chances now. Instead, you can call a professional for wood floor installation. The company will give you a quote after measuring the area to be covered and help you choose from different types of flooring options.
Installing the Floors
Once the previous flooring has been removed, the company will even out the surface and install the wooden flooring in separate sections. A special glue is used to fix the tiles in place, and it’s important that the glue is left to dry before you start walking on the floors. Installation can take a day or more depending on the surface area to be covered. Once the floors have been installed, the company will apply a sealant on top to prevent liquids from seeping beneath the surface and causing permanent stains.


